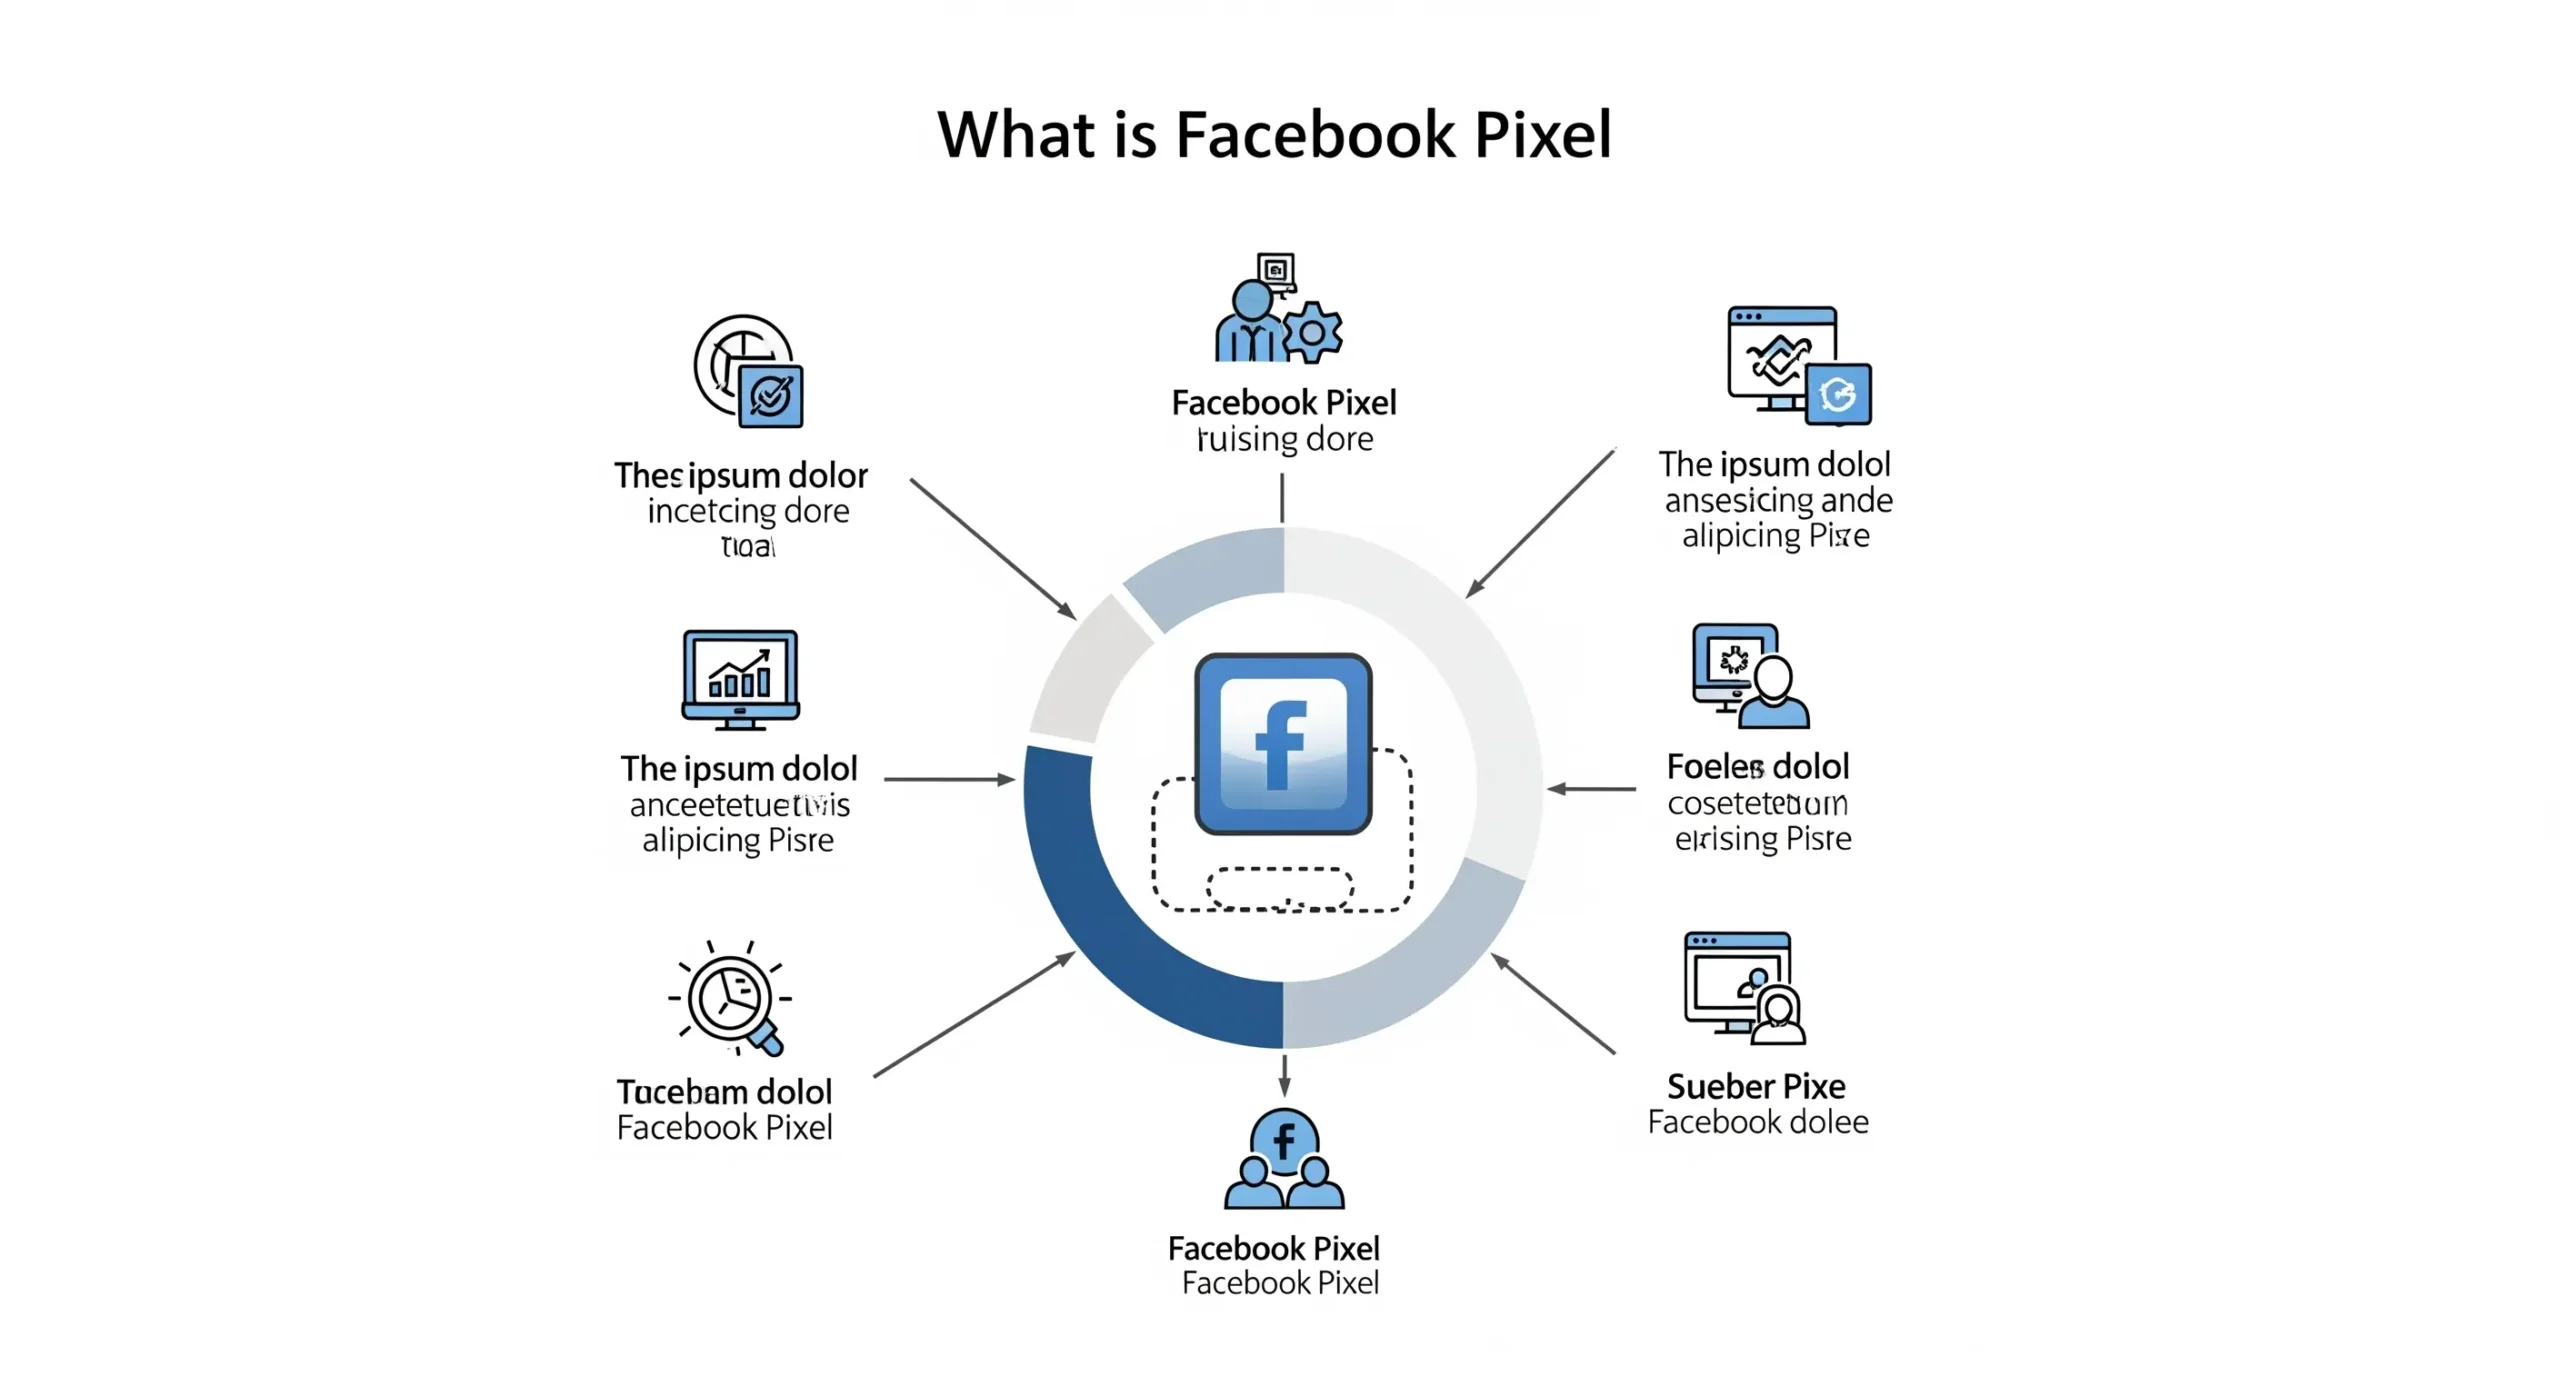
Ever wonder how some ads seem to know exactly what you were just thinking about? You click on a product once, and suddenly it’s following you everywhere. That’s not magic. That’s the power of Facebook Pixel. Behind the scenes, Facebook Pixel is working overtime, tracking clicks, actions, and intent to help marketers serve smarter, more personalized ads.
In a world where attention is currency, understanding your audience isn’t optional; it’s essential. Let’s uncover how Facebook Pixel helps turn insights into impact.
What Is Facebook Pixel?
Facebook Pixel is a tracking code that you drop on your site. It assists Meta (Facebook) in learning the activities that people perform after viewing or clicking your advertisements. The Pixel captures the information when a person makes a purchase, completes a form, or goes to a particular page.
This is a very useful tool and it enables businesses to calculate the performance of the advertising, enhance targeted traffic, in addition to tracking conversions.
Why It Matters Today
Facebook Pixel is useful as it will allow you to see exactly what visitors are doing on your website, whether they are clicking, buying, signing up, or just browsing. With that information, you can create more intelligent ad campaigns, serve people who didn’t consider purchasing for the first time, and ensure which advertisements are really generating outcomes (as opposed to throwing your advertising budget on wishes).
Where Is Facebook Pixel Used?
Meta Pixel is commonly used in:
- eCommerce stores: To track product views, add-to-carts, and purchases.
- Lead generation sites: To monitor form submissions, sign-ups, or contact inquiries.
- Blogs or content sites: To understand visitor behavior and time spent on posts.
How Does Facebook Pixel Work?
The information about the visitors of your site is collected with the help of Facebook Pixel and associated with their Facebook accounts. This will help you keep track of behaviors (also called events) and squeeze the most out of your advertisements, reaching the right consumers.
Once you put a Meta Pixel code on your site, it will generate whenever there is an action that someone on your site will undertake, like a visit to a page, a click on a button, or a purchase of a product. It monitors such moves and shares them on Facebook. Think of it like a digital assistant watching user behavior and sending reports to your ad manager.
Standard vs. Custom Events
- Standard Events – Predefined actions like ViewContent, AddToCart, InitiateCheckout, and Purchase.
- Custom Events – You define them yourself based on unique user actions, such as “Download Ebook” or “Clicked WhatsApp Button.”
Example:
Pixel keeps track of someone adding a product to their cart on your site. In case they walk away without buying, you can. Retarget them with the help of a custom Facebook advertisement at a later time.
The live-tracking assists the business, particularly an online store/shop using Shopify or WooCommerce, to optimize ROI and lower wasted ad budget.
What You Can Track with Meta Pixel
Meta Pixel tracks a wide range of events useful for optimizing ad performance. These are the main events in Meta Pixel:
| Event Type | Use Case | Example |
| PageView | Track general traffic | User views the product page |
| AddToCart | Monitor shopping behavior | Adds product to cart |
| Purchase | Conversion tracking | Completes checkout |
| Lead | Capture form submissions | Contact or newsletter signup |
How to Set Up Facebook Pixel (Meta Pixel)
Setting up the Facebook (Meta) Pixel is straightforward, whether you’re a beginner or experienced with web tools. Here’s how to get it running on your site:
1. Create Your Facebook Pixel
- Go to Meta Business Suite > Events Manager.
- Click Connect Data Sources > Web > Meta Pixel.
- Give your Pixel a name (e.g., “Fulfillit Pixel”). Optionally, add your website URL.
- Copy your unique Facebook Pixel ID. You’ll need this for installation.
2. Choose an Installation Method
Manual Installation:
- Copy the base pixel code provided by Facebook.
- Paste it into your website’s <head> section.
- Add specific event codes (like Purchase or Lead) to track actions.
Partner Integration (No coding needed):
Most platforms have built-in Facebook Pixel support.
Shopify
- Go to Shopify Admin > Preferences > Facebook section
- Connect your Meta Business Account
- Paste the Pixel ID and select your data-sharing level
WooCommerce or WordPress
- Install plugins like Facebook for WooCommerce or Elementor Facebook Pixel
- Enter your Pixel ID in the plugin settings
Google Tag Manager (GTM)
- In GTM, create a Custom HTML Tag with your Facebook Pixel script.
- Set the trigger to All Pages.
- Publish the container.
3. Test Your Pixel Installation
Use these tools to verify your Pixel is tracking correctly:
- Facebook Pixel Helper Chrome Extension
- It shows which events are firing and alerts for issues like duplicate tags.
- Events Manager → Test Events Tab
- Simulate user actions and check if your events are being captured.
Real-World Example: How a Shopify Store Boosted Sales with Facebook Pixel
Let’s take the case of EcoHomeGoods, a small Shopify store selling eco-friendly home products. Before using Facebook Pixel, EcoHomeGoods relied on standard Facebook ads but struggled to understand which visitors were most likely to buy. Ad spend felt like throwing money in the dark.
After installing Facebook Pixel and setting up custom events for AddToCart, InitiateCheckout, and Purchase:
- They could retarget visitors who abandoned their carts within 24 hours.
- Ads were now served to users who visited specific product pages but didn’t convert.
- They used dynamic product ads to automatically show products each visitor interacted with.
Results within 3 months:
- 20% increase in conversions from retargeting campaigns.
- 15% higher ROAS (Return on Ad Spend) on Facebook campaigns.
- Reduced wasted ad spend by targeting only qualified leads instead of all visitors.
This example shows that even a small store can scale sales significantly by using Facebook Pixel correctly. Tracking visitor actions, setting up custom events, and retargeting can turn lost opportunities into real revenue.
Conclusion
Facebook Pixel can be regarded as one of the most influential instruments of digital marketing. Be it an eCommerce shop, services promotion, or the creation of regular readers of your blog, it allows following such important measures as clicks, subscriptions, and orders. In a world where privacy is a priority, integrating Pixel and Conversions API using Google Tag Manager allows you to get more insights and have more control over ad performance.
At Fulfillit, we believe smart tracking is the difference between spending and scaling. Installing your Pixel is free, simple, and essential.
FAQs
Q1: What is the Facebook Pixel Helper Chrome extension used for?
It lets you verify if a pixel exists, which events fire, and whether any errors occur. Use it when testing Facebook pixel or when tracking issues arise.
Q2: What’s the best WordPress plugin for Facebook Pixel?
Plugins like “Meta Pixel for WordPress” and “Facebook for WooCommerce” simplify setup. They automatically add pixel code and enable event tracking.
Q3: How do I transfer ownership of my Facebook Pixel?
Go to Pixel Settings in Events Manager and assign your Pixel to another ad account or user.
Q4: What is the ideal Facebook cover photo pixel size?
Recommended size: 820 × 312 px (desktop) and 640 × 360 px (mobile). This helps maintain image clarity when boosted posts or ads use your cover image.
Q5: Can I create a Pixel via Facebook Blueprint?
Blueprint offers training, but creating a Pixel requires Events Manager. “Facebook Blueprint Pixel” refers to the certified learning path rather than a unique tool.


